")


Setting Up HTTPS Is Child's Play Now
In the past, and in some specific cases, setting up a valid X509 certificate for your website/web app to enable HTTPs connections has been a painful process broken into many steps. Fortunately, it has changed.
Previously, you needed to follow these steps:
- Generate a key pair using a command like this:
openssl genpkey -algorithm RSA -out private_key.pem -pkeyopt rsa_keygen_bits:2048, then extract the public key using a command like this:openssl rsa -pubout -in private_key.pem -out public_key.pem. - After that, you would need to provide domain information, contact details, etc., and sign with your private key to generate a Certificate Signing Request (CSR). This could be generated using an OpenSSL command, for example. I used this tool to generate the arguments for me.
- Submit the CSR to a Certificate Authority (CA) that would sign your CSR.
- Pay the CA to obtain its signature (at least 10 USD/year each).
- The CA would send an email to admin@yourdomain in an attempt to verify that you are the owner of that domain.
- The CA will provide you with your desired X509 certificate. This certificate is configured in your web server to enable HTTPS connections that would be trusted by all browsers.
- Set up your web server, e.g., Nginx, to enable HTTPS and load your certificate and private key. You also needed to ensure that the chain of trust is correct (i.e., as there are Root CAs and Intermediate CAs, your certificate may be signed by an intermediate, but browsers usually only know Root CAs. The point of this chain of trust is to link the Intermediate CA that signed your certificate to the trusted Root CA).
- Perform TLS hardening. Disable SSLv1, SSLv2, SSLv3, and make sure you defend against all SSL/TLS attacks. Specify ciphers with high entropy as well. There are specific guides for that like this or this.
- Test your configuration with SSL Labs.
But now, some players have changed the game.
Let's Encrypt provides free certificates. Many didn't enable HTTPS because you needed to pay, and the process was not as simple as I've shown above.
After that, Amazon Certificate Manager was launched, and now it provides free certificates without complexity! It handles the creation and renewal, although I believe that you can't extract the private key. They manage it entirely for you to associate with their load balancers or their Content Delivery Network (CDN) named CloudFront.
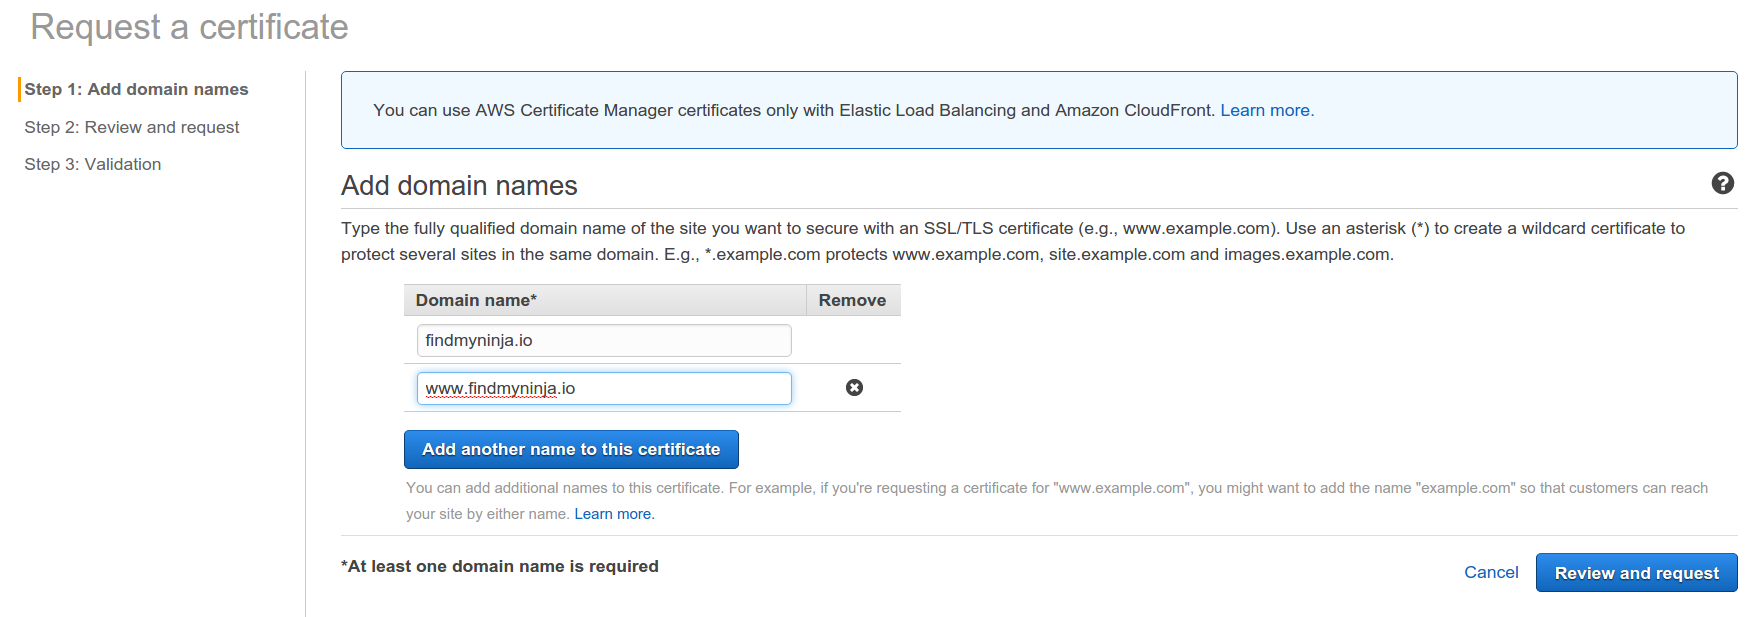
I took the time to set up HTTPS for the static sites that I manage, such as findmyninja.io. I specified the names (findmyninja.io, www.findmyninja.io), confirmed ownership by clicking on a link sent to admin@domain, and that's it. The last remaining step was to associate this certificate with the CloudFront Distribution, and it was done.
For your own server, the process is still painful, but there are some scripts generated on top of Let's Encrypt that generate the certificate and renew it automatically when needed. Check it out.
If you enable HTTPS but forget to force the client to connect over HTTPS, that won't help much. Start redirecting HTTP to HTTPS, and then try your best to enable HTTPS only. For CloudFront Distributions, it is a point-and-click configuration. Don't forget to enable it on the distribution behavior.
One more thing. Remember that HTTPS is NOT only about encryption; it's also about endpoint authenticity. So, even if your site doesn't handle sensitive information, such as passwords, you still need HTTPS. It's a way for the client to know that it is talking to the correct server instead of a malicious one. Make sure you set it up :)
That's all I have for today. Hope you enjoyed!